Fast Web Page Creation
Simple Online Web Page creator
Simple Web Page publishing
- Online Word Processor
- Online Image handling
- Online Menu selection
- Publish web page in one button


Online Web Page Word Processor (WordPress)
- Login into WordPress Dashboard. e.g. http://www.yourcompany.com/wp-admin/ Username Password
- Select Pages - Add New on the left menu.
- In the top text box, enter a title with you web page keyword phrase
- In the large text area, enter your web page content. Include the keyword phrase in the first paragraph.
- Add images using the Add Media or Set Featured Image links. Add image ALT description with keywords.
- Select a Menu Category to put the web page into. Menu system can be setup at installation phase.
- When you are finished click Save Draft or Publish. Click All Pages to see all your web pages.
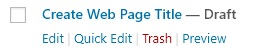
- To Change Pages, hover over web page title and click Edit
The Checklist document below includes a Web Page Checklist that can be used for each web page.
WordPress Website Image Gallery Additions
Images for web pages should be smaller for quicker loading web pages. Downsize any images larger than 1920 pixels in width.
Some image editing features are built within WordPress.
| Web Page Image Addition Process | Image |
|---|---|
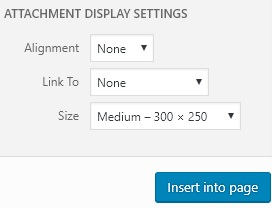
| From the Edit Page screen Click on the position where you would like the image Click Add Media Button Click Select Files button or select Media Library. Select your web page image Click Insert Into Page button Typical image sizes leaderboard (728x90), small rectangle (180x150) small square (200x200), square (250x250) medium rectangle (300x250), large rectangle (336x280) half page (300x600), portrait (300x1050). |
 |
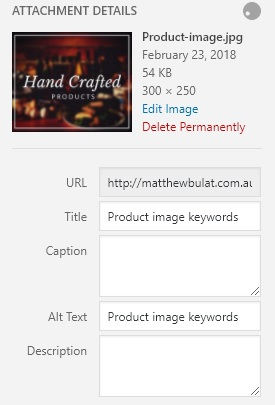
| Image Media Library - New Image Attachment Details Remove any hyphens or underscores in the title. Use your keywords in important image titles. Copy the Title into the Alt Text textbox. Optionally set the image alignment. Optionally set the image display size. If you want to edit the image click Edit Image (see below). Click Insert Into Page button |
|
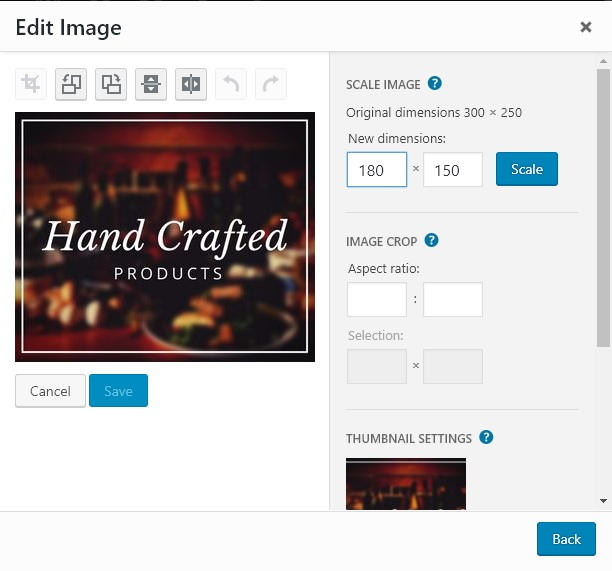
| Edit Image editor Change the width of the image to the size you need. Enter the new smaller width in the first scale textbox. The height will auto calculate. Click Scale button. There are features to crop, flip or rotate images. Click Save button. Click Back button. Click Insert Into Page button. The image will appear at the cursors last position. If you click on the image you can align, delete or edit the image. Once an image is in the library it can be used for multiple web pages. |
 |
WordPress Menu and Publish
- Set Featured Image - This will place an image at the top of the web page.(optional)
- Parent - This will put a new webpage within the menu under the Parent selection. The connecting hyperlinks will be made automatically.
- Preview - This can show the completed web page without making it public.
- Save Draft - This can save a web page to be finished off later. It is not public. There is an option to Move to Trash.
- Publish - This will make the web page public.
The Checklist document below includes a Web Page Checklist that can be used for each web page including text and images. Next is Digital Marketing Digital Marketing your new web page.
Website Development Section Link Website Design Checklists
Find Us
- Use Technology Efficiently
- matthew.bulat@gmail.com
Follow Us
Keep up to date to leverage teachnology change
Copyright © 2019 www.matthewb.id.au. All Rights Reserved